Table Of Content
For each layer of graphite that we apply, we'll use a blending stump to work the medium into the tooth or texture of the paper. This will help to create the impression of softness and smooth any inconsistencies produced by the softer graphite applications. We also know that areas that recede or are blocked from receiving light should be darker in value.
Similar articles

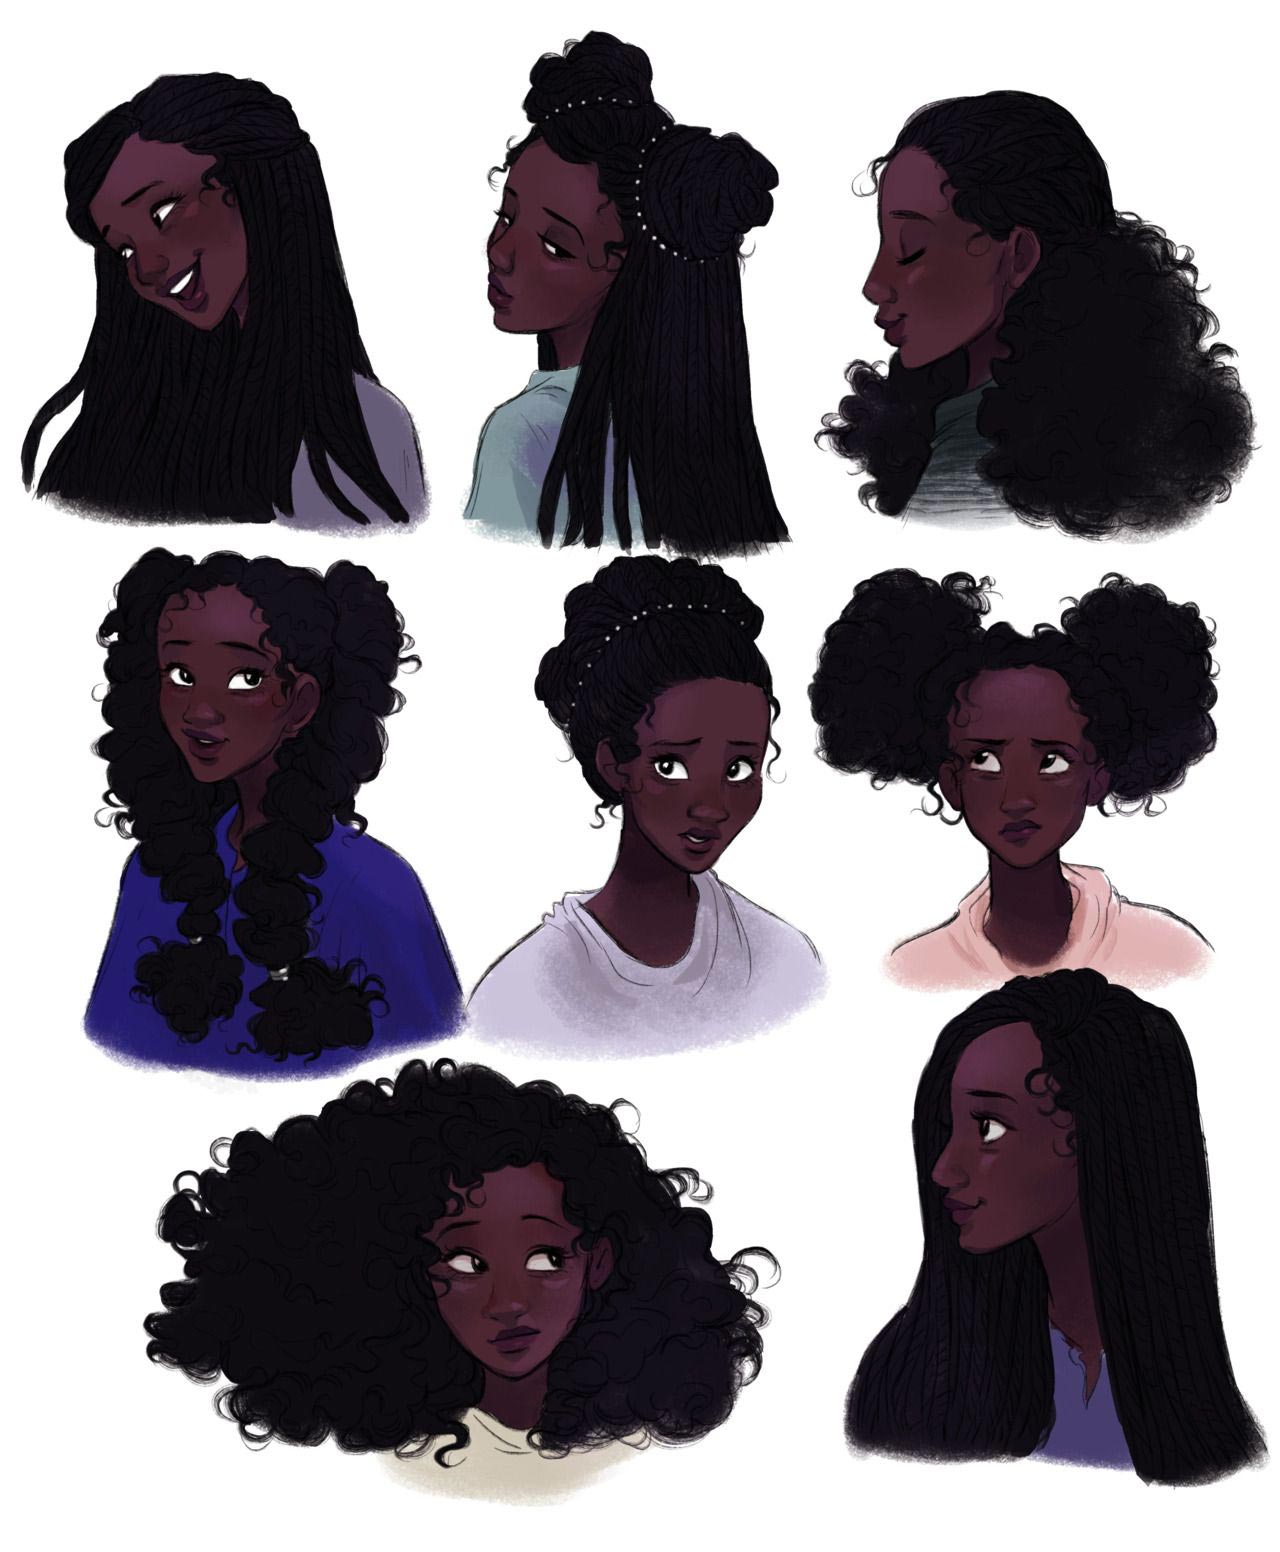
Read on for a detailed guide on outlining, sketching, shading, highlighting, and more. Creating realistic drawings of hair is undeniably one of the most challenging tasks for artists of all skill levels. When it comes to mastering the art of illustrating hair in its many forms – straight, curly, short, long, thick, or thin – the intricacies can be overwhelming. However, imbuing your artwork with well-rendered braids can elevate the overall aesthetic appeal of your creation. The examples in this tutorial can give you a good basic idea of how to draw some common hair types.
Straight and Wavy Hair for Men
The shaft is the visible part of the hair, while the root is the part embedded in the skin. The follicle is the structure that surrounds the root and nourishes the hair. I appreciate your skills and style in elaborating on the topic.
How to Draw Natural Looking Hair Step by Step
In the late 1980s, she proposed a tie that braided the hair together, providing an even closer precedent for the Schiaparelli design. If you want to create a shiny look or replicate harsh lighting, try to keep the highlights fairly clean. Click here to learn how to draw one from the front and here to draw one from side. Same as the previous example begin by making an outline drawing of the head.
Step Two - Draw Shapes For The "Clumps" of Hair
This isn’t a tutorial, but it does provide you with lots of hairstyle ideas for boys. If you want to learn how to draw hair, I hope the step-by-step drawing tutorials will teach you how to do so. Begin by drawing the outline of the outside of the hair.
It helps to make loose outlines of the skull before you start drawing hair. If you draw hair without the 3 dimensional shape of the human head in mind, it will lack volume and you risk chopping off a part of the skull. For most people with long hair, you can expect at least 2 centimeters of “hair height” on top of their actual height and at least 2 centimeters on the sides as well. I am using my kneaded eraser just as much as I use my pencil throughout this drawing. It's a fantastic tool for drawing hair because it can be used to pick out specific details, or to lighten larger areas of value. Watch this video tutorial on my three favorite kneaded eraser techniques for realistic drawing here.
It doesn't makemuch sense to go into more detail at this point because I will lose someof my drawing when I start drawing in values. However, just because Iam moving to value drawing does not mean that the block-in stage isover. • The little strands on Step 3 follow a very similar direction, but slightly more pronounced, enough to add dynamism to the shape of the hair clump. As my drawing advances, I ponder some possibilities for drawing the hair. This character will have straight hair, cut just over the shoulders.
For digital artists, work with separate layers for each drawing stage or color. This method allows easy adjustments and layer toggling without damaging your work. Lower the opacity of your base layer, draw over it on a new layer, and keep refining. Understanding the nuances of braid drawings is crucial to capturing these complex structures in your artwork. Drawing curly hair is really fun and absolutely great for building confidence when it comes to adding texture. Inside the construction frame from the previous step begin drawing in some of the more organic shapes and folds of the hair.
Angela Su: Melencolia Wallach Art Gallery - Columbia University
Angela Su: Melencolia Wallach Art Gallery.
Posted: Mon, 15 Apr 2024 10:41:59 GMT [source]
Step Two: Sketch the bangs
Join art communities or online forums where you can share your work and receive valuable insights from others. Negative space refers to the areas around and between objects. When drawing hair, pay attention to the negative spaces between the strands and use them strategically to define the shape and volume of the hairstyle. To achieve a realistic appearance, focus on creating volume and texture.
Be patient with yourself and embrace the learning process. Practice regularly and don’t get discouraged by initial attempts that may fall short of your expectations. Each tool has its own unique qualities and can bring out different aspects of hair, allowing you to explore different styles and achieve diverse results. While observing real-life references is crucial, developing the ability to draw hair from imagination is equally important.
HOW WOULD A COMB THAT CANNOT UNTANGLE HAIR LOOK?: THE ART OF CHRISTINA RAMBERG - Artforum
HOW WOULD A COMB THAT CANNOT UNTANGLE HAIR LOOK?: THE ART OF CHRISTINA RAMBERG.
Posted: Sat, 23 Sep 2023 12:14:14 GMT [source]
Any locations within the hair that need to be lighter can be rendered using an eraser. An eraser pencil or eraser pen works best at lifting the graphite in these areas. Strands of lighter hair can be developed using the eraser as well. Texture, like form, is also defined largely through the use of value. Light values and dark values work together to inform us of the texture of the subject.
The four step approach that we explored above can also be used for a single lock of hair... You may start by taking a photo of someone's hair - perhaps your own. Look for a defined collection hair that forms a shape. To finish up, we'll add a few stray hairs that extend from the body of the hair. These stray hairs can be made with quick deliberate marks with a sharpened HB pencil.
If you want to try drawing another hairstyle you can still apply the same steps/principals used in these tutorial. First defining the main shape of the hair and then refine your drawing by adding the smaller details. Afterwards you can gradually shade the line drawing in several lairs of strokes. This tutorial shows how to draw female hair with three different hairstyle variations including natural looking, straight and curly hair. Each style includes step by step drawing examples and explanations. I may be defining this process as a four-step approach, however it's more like a three-step approach.
Post this point, the hair fans out, presenting a fluffier appearance,” explains Larson. The first step in your journey to capturing the allure of braids is to visualize and establish what can be termed as the ‘line of action’. This fundamental line serves as the guiding path delineating the movement and form of the braid.
If you’ve been wondering how to paint hair, this tutorial is for you. In this post, you’ll find step-by-step tutorials on how to draw hair and even how to color hair. I’ve also included pictures of hair illustrations that you can use for inspiration.


No comments:
Post a Comment